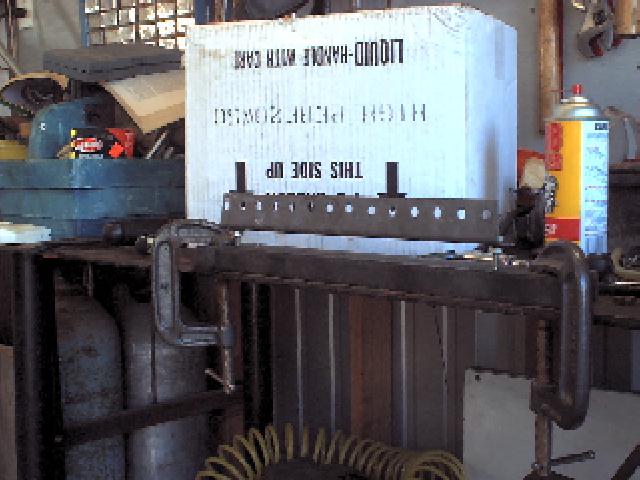
The jig for holding the carbs. Piece of 1"x2" channel
drilled and tapped with 1/4-20 all thread screwed in and locked with nut underneath. Upper crosspiece is a piece of angle bracing from tracks for a garage door. This is supported and locked in place with large washers and a nut on each side.
I used 1" clamps on the lower rail to hold the rack on.
Check to be sure your level is
right. Use the nuts to raise and lover the anle piece and level it.
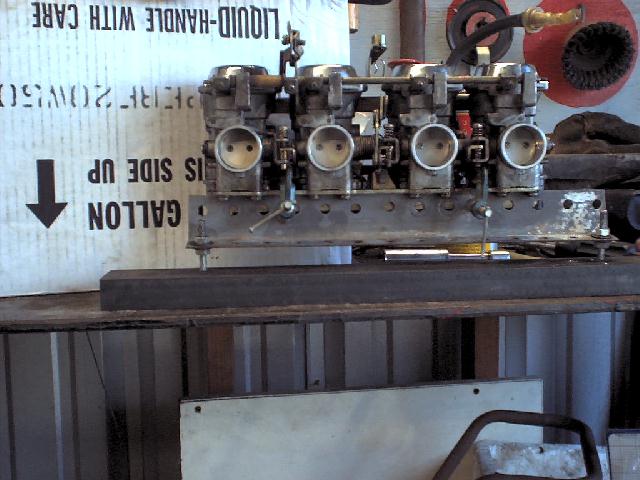
The setup ready to start: the box holds the tank so I can get
fuel to the carbs.
Use a piece of clear 1/4" plastic hose over the bowl drain, and open the screw to admit fuel to the hose. Check the fuel level on the right hand carb, also note how far down from the lip of the bowl it is and extend it over to the left side and see that it is the same there. This will double check the level. With my setup it is close enough to the edge that I can take the fuel bowls off and work on everything and the only thing I need to remove is the bowl, float and needle of the carb I'm working on. (Put the studs about 1/2" back from an edge of the channel )
(Editor's note: Check the Parts Diagrams section of this CD for the actual specified fuel level measurement for your model. It will usually be found under 'Carburetor' or 'Service Data'. Adjust the tang on floats so each carb is within spec and identical.)
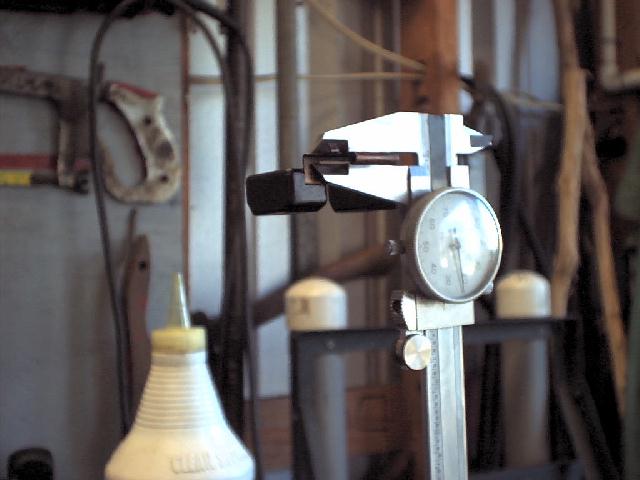
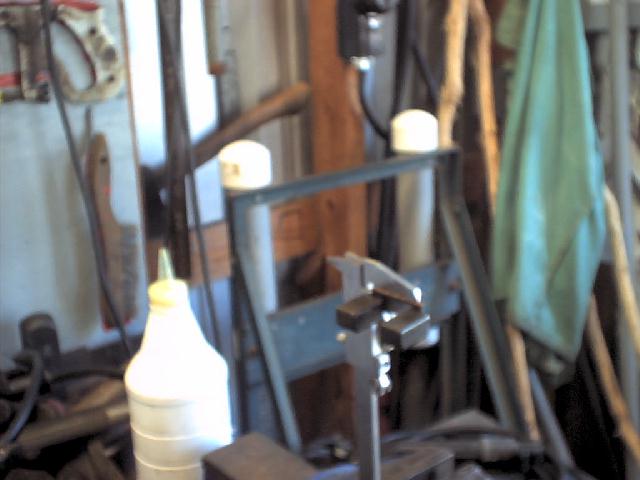
I used a 6" dial cliper for my mesurements. Check your manual for where the float level should be, for an 81 650 maxim its .118 down. When I got the fuel level right and rechecked the measurement on the float it came to .122"
#6 & #7 show how I measured it. Make sure to do all measurements the same way. After doing the first carb just went on across.
When checking the fuel level in the bowls be sure you have fuel getting to the bowls, and when you take a bowl off make sure the tap is closed, its kind of surprising to take the bowl off and have this stream of gas still coming out!
Set mine up this way and also while I have the carbs on the jig I temporarily tried setting the throttles. Haven't got the carb sticks from Carlton yet. Sighting up the bore on carb #3 I backed off the idle adjustment until there was just a sliver of light showing then used the screws to set #2, #1 and #4 the same. It may not be perfect but it started and ran pretty good. When the carb sticks get here I'll use them and see how close I came.
(Editor's note: a slip of paper can be used as a feeler gauge for this method of roughly syncronizing the carbs. Close the throttle butterfly on the paper, and adjust the syncronizing screws until the paper just slides out with some friction.)
BACK to the Carburetor Index