Dyna Coils on an XJ700N/NC/S/SC (non-X)
This is how I went about putting Dyna brand ignition coils on my XJ700. They're not the same size/shape as the stock coils, nor do they mount the same way. Also, the XJ700N/NC/S/SC (non-X) motorcycles seem to mount the IG coils different from any other XJ.This project used a set of Dyna coils (DC1-1, 3 ohm, dual angled outputs) and Dyna 8mm Suppression spark plug wires (DW800) that I ordered from Motorcycle Accessory Warehouse, some aluminum angle stock (1in x 1in x 1/8in thick), and a handful of 6mm bolts(4 longer, 4 shorter, I forgot the exact lengths), washers(4 flat washers), lock washers(8) and nuts(4).
-- Jim Miller, Mar 6, 2001
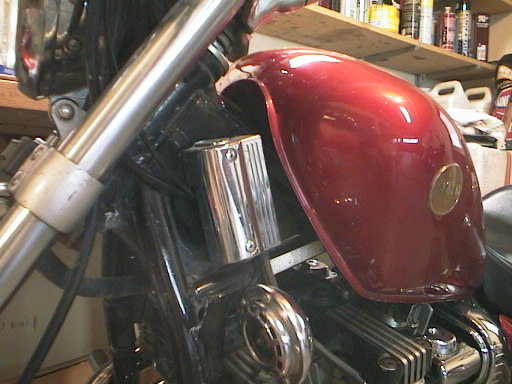
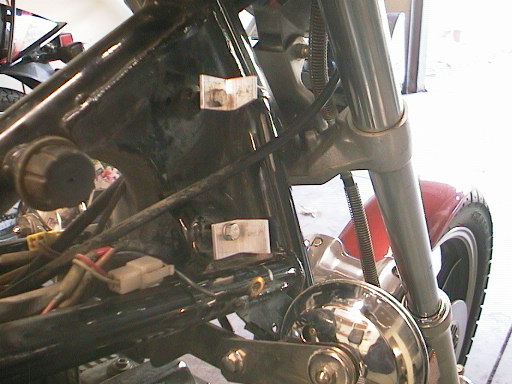
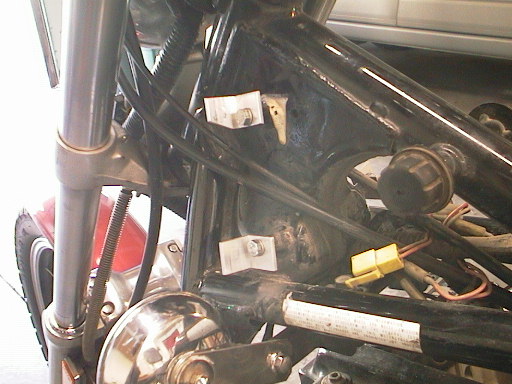
 | The stock coils before beginning. They mount onto the frame between the tank and the steering head. They're each covered with a chromed plastic cover. |
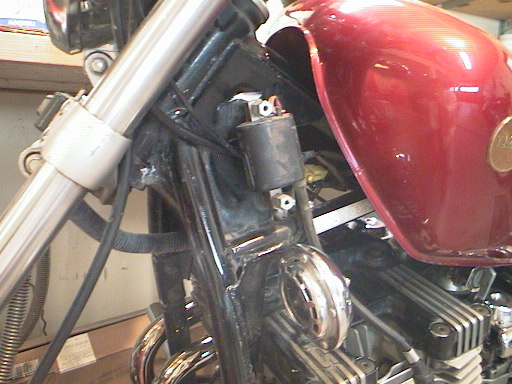
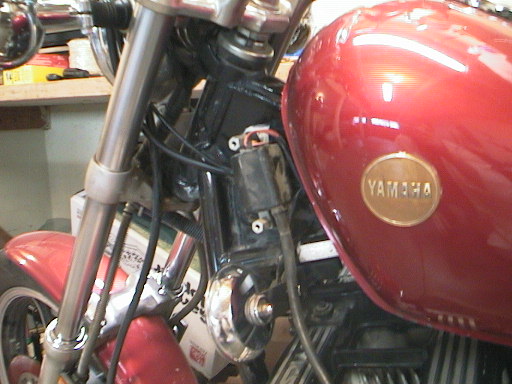 | The stock coils with the covers off. Judging by the OEM part numbers, these are different coils than those mounted stock on other XJs. Note that the plastic cover is held on by phillips head bolts that go into the top of the funny bolts that hold the coils on. |
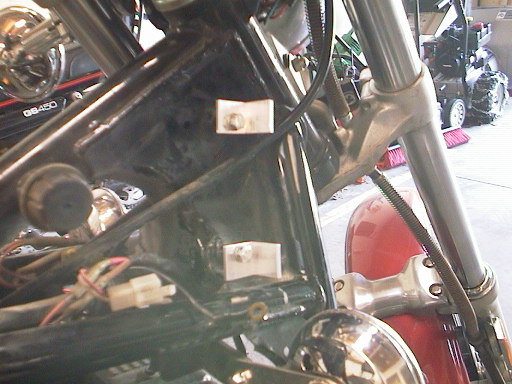
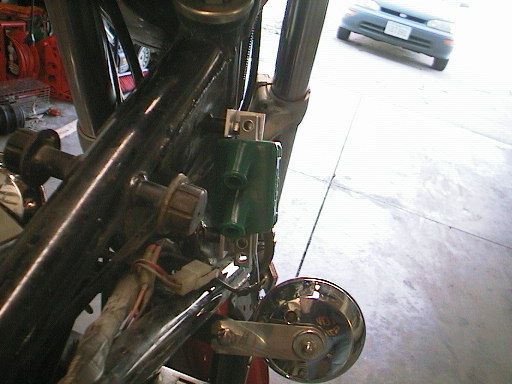
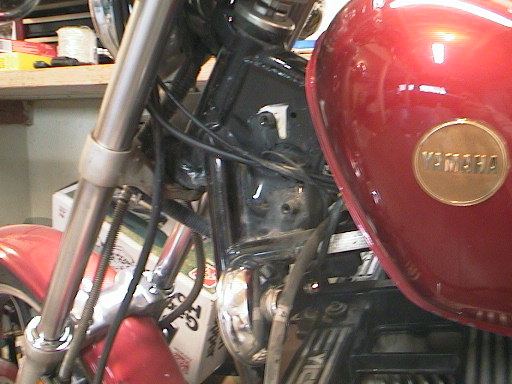 | This shows the mount points with the coils removed. They accept M6 metric bolts. Note that the clutch and choke cables pass between the coil and the frame. The throttle cable does the same on the other side. |
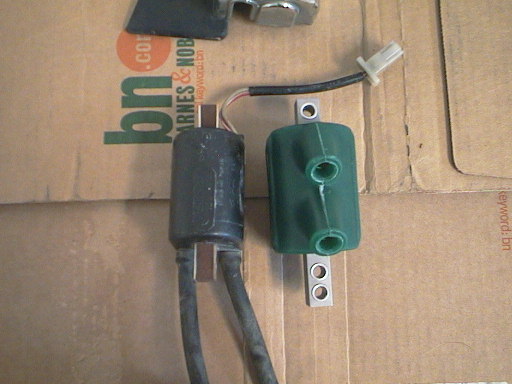 |
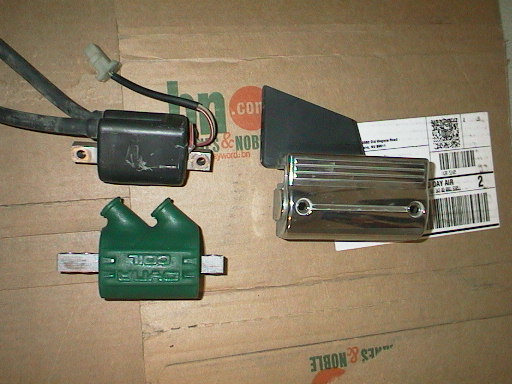
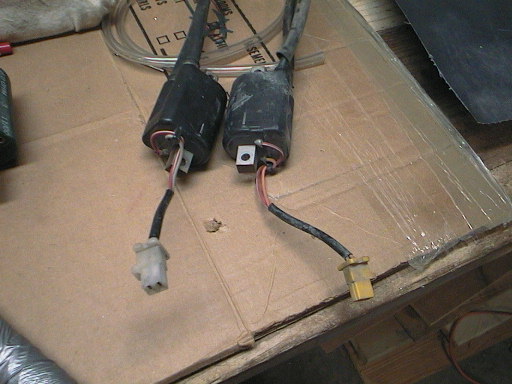
These show the difference in size and mounting between the stock coils
and the Dynas as well as the chrome plastic cover. You should note the
following:
|
 |
So, I need to turn the mount points 90° and move them a little ways. I
had originally gone looking for a piece of channel of some kind that
would have a U shape, but couldn't find anything that was both big
enough to find around the Dyna coil posts and small enough to fit. I
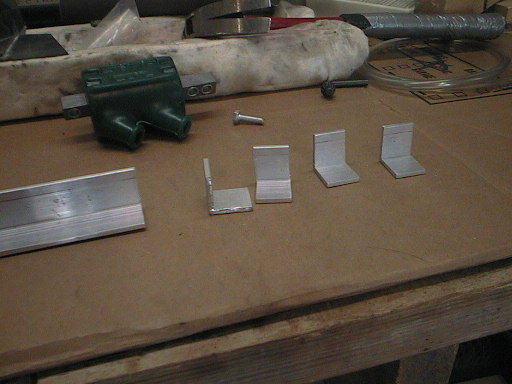
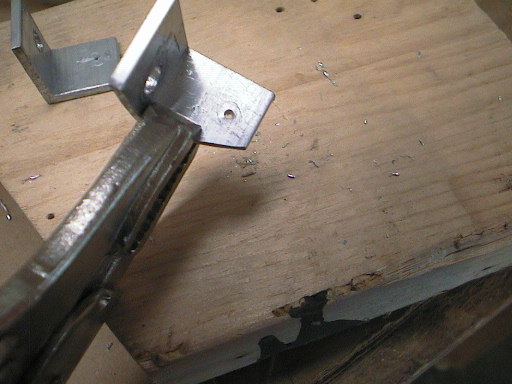
settled on a right angled piece of aluminum instead. I cut four pieces about 22mm long. (If you're following along, don't do that now, read the whole thing first.) After every cut and every hole drilled, I used emery cloth to clean up the edges. |
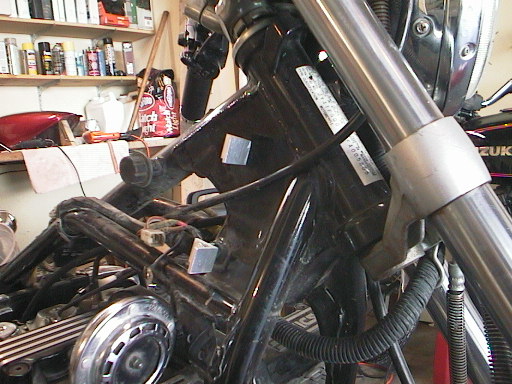 
 | Then I drilled 1/4in holes in one side. I tried to center them between the inside of angle and the back edge and place them within 3-4mm of the edge. The coils only just fit betwen the posts alone. As you can see, when the coils are set in, there's little clearance. The outside corner of the upper one in particular is too close for comfort. Probably caused by my complete inability to cut a straight line with a hack saw. Note throttle cable as mentioned before. |

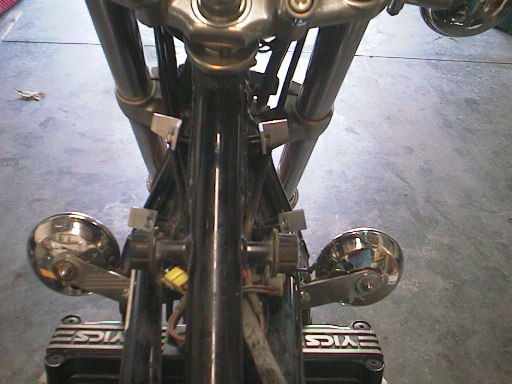
  | As you can see here, I trimmed that corner off. I was very glad of that later as it would have been almost impossible to get them in with the primary wires on without that little bit of extra room. I also have the tank set back on and the bars hard over to check for clearance. The forks come within 1/2in, but don't touch and the tank clears fine. |
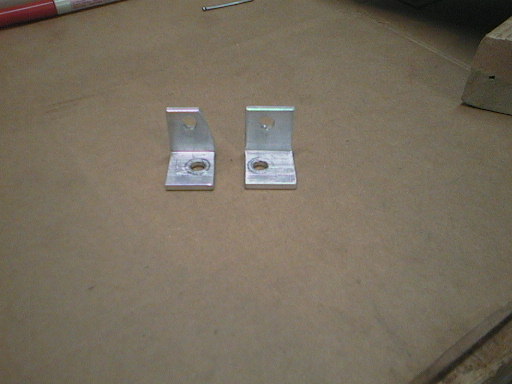
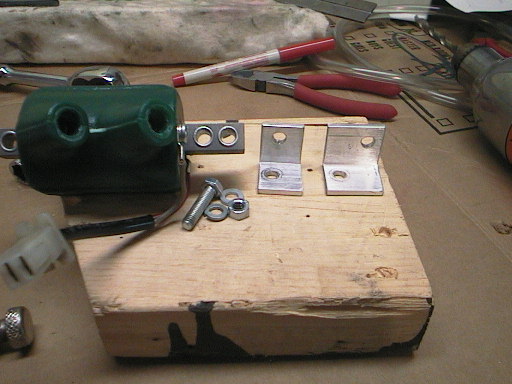
  | Here's some shots of how the brackets look before getting drilled for the coil mounting holes. |
 |
For the metal working ignorant (which includes me, unfortunately) I
drilled the holes using metal working twist bits. I marked the holes by
setting the coils on, holding them so that they were off of both
brackets, and scratched around through the mounting hole with a nail. I
then used the nail to make a dimple in the center of the mark. I used a
smaller bit to drill a pilot hole and then a 1/4in bit for the final
hole. If I'd had a drill press, I would have used it. I don't have
any pictures of all that because I only have two hands. :-) In these shots you can see the hole marking, the pilot and then the finished brackets. |
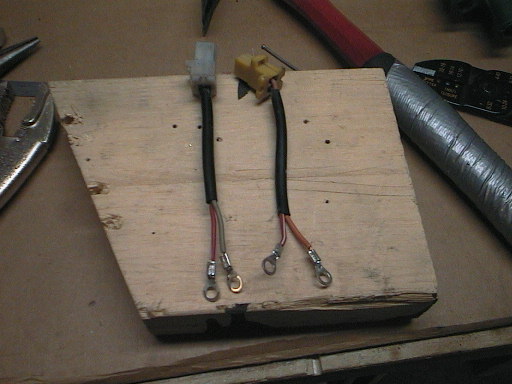 | Here you can see that the stock coils have the primary (input) wires soldered on. I clipped them off (leaving enough on the stock coil to reattach, just in case) and crimped/soldered on the eye terms that came with the Dynas. Note that the yellow and white connectors indicate left and right sides respectively. The Dynas don't care which coil goes on which side nor which wire goes on which terminal. |
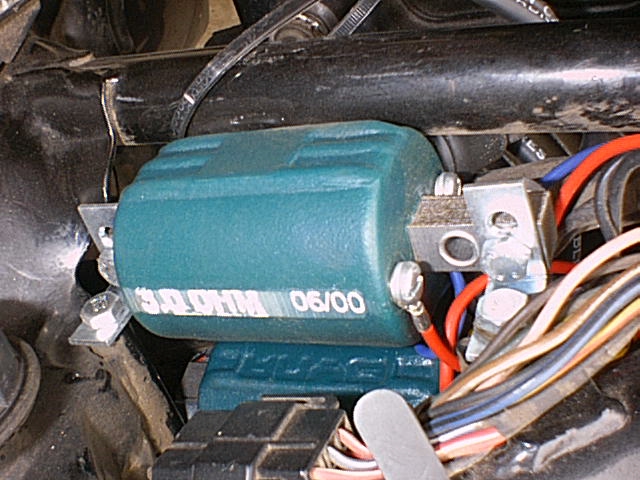
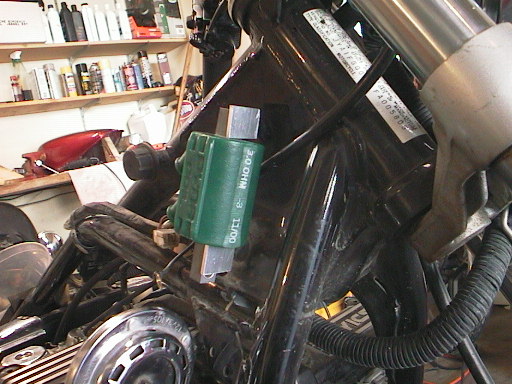
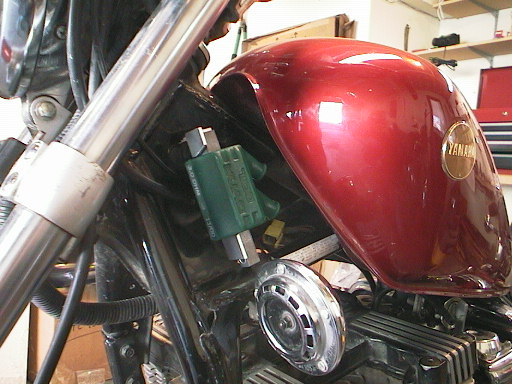
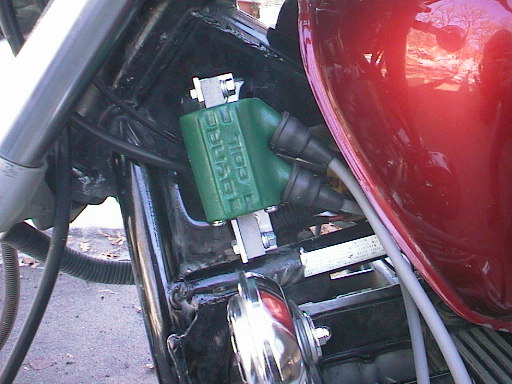
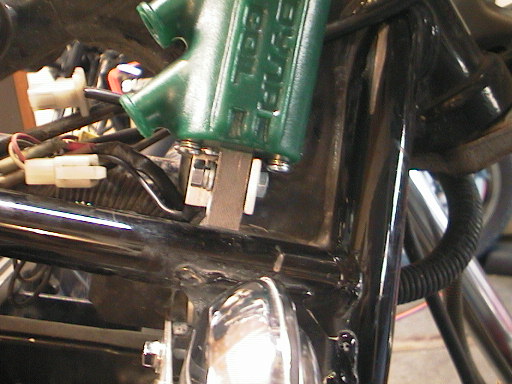 | Here you can see the fully mounted coil. These terminals are awfully close to the mounting bolt, aren't they? |
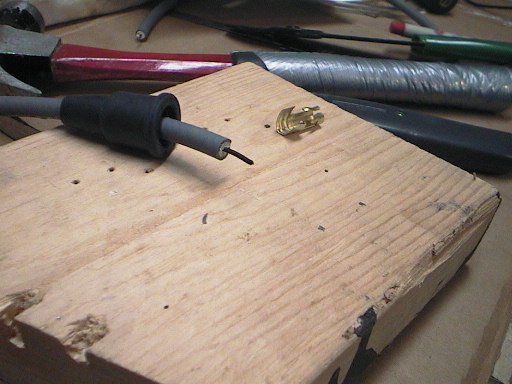
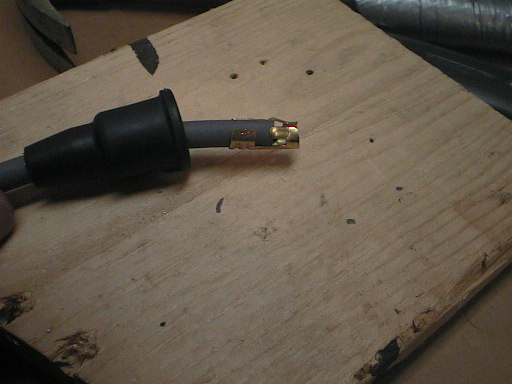 | I'd never messed with spark plug wires before, so I was a bit confused when I stripped it. That black core is the conductor. The wire itself provides the RF impeding resistance that the NGK resistor cap did before. The instructions are clear enough once you know that that is the conductor. Be careful crimping on that connector, the wire slides out of it easily if you put silicone on as they recommend for the boot and don't crimp it hard enough. |
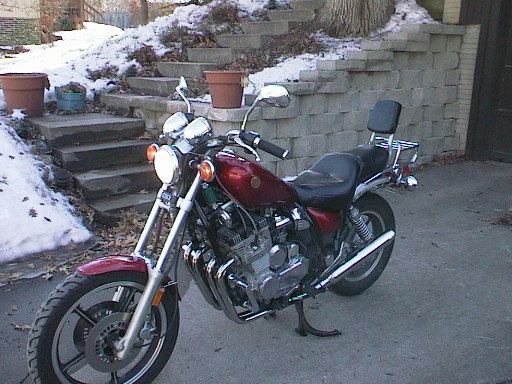
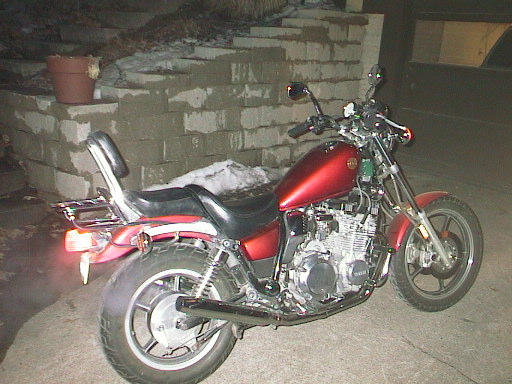 | And here it is running with the Dynas on! First time I started it this season. As you can see, it's gotten rather dark and I didn't go for a ride that night. |
 |
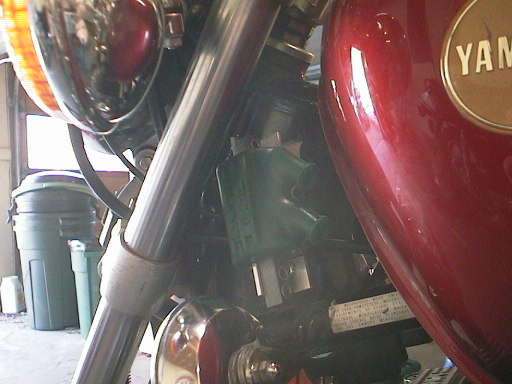
The more I thought about it, the more that narrow gap between the coil
primary terminals and the bracket worried me. So the next day I made
new versions of the bottom brackets that used the lower of the two holes
in the coil post. You can see that there's loads more clearance that
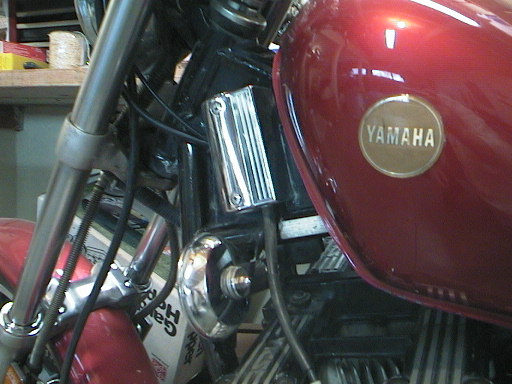
way. The spark plug wires are much closer to the tank now than with stock, but since most motorcycles mount the coils right up under the tank anyway, I figured that was fine. I can always pull them away with zip ties if needed. |
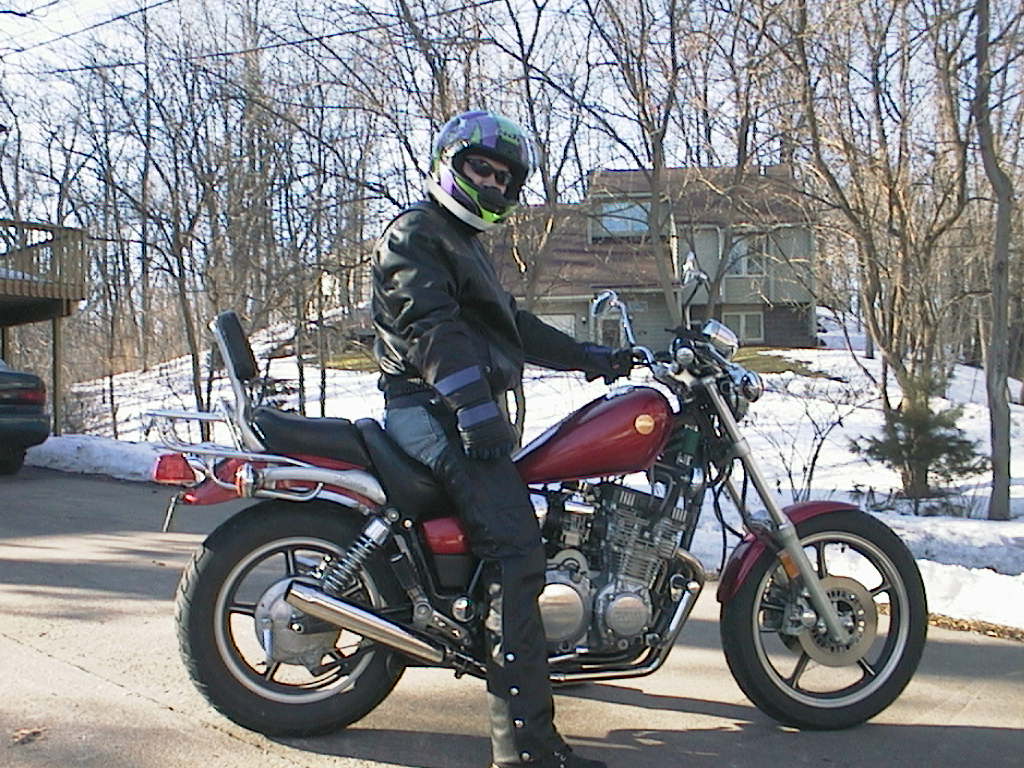 | Finished product warming up to ride (luverly snow, isn't it?) and here's me about to go for the first XJ ride of the year. I'll probably return to this project later and either carve up the chrome covers to fit over the coils or just paint them black. I think the green kind of stands out. And, for the record, I'm not nearly as fat as that picture makes me out to be. :-) |